Quick local static code analysis with SonarQube
Proper static code analysis is super useful, but can be non-trivial to set up and integrate. Let's look at a simple way to do a one-off check with SonarQube in Docker.
A Small Update
Since writing this post I’ve used this approach and setup quite a few times. So often, in fact, that I decided to write a tool to automate it! With it, you get the entire setup described here with a single command. You can check it out on GitHub: instant-sonar. Now back to the original post.
I have some really great experiences with SonarCloud. However, setting it up properly and integrating it with the rest of your processes can be non-trivial, and even expensive for private projects (it’s free for open-source though!). In such a situation it can still be very useful to get some one-off information, either to improve the project, or to convince people that setting up static code analysis is a good idea ;) Luckily, SonarQube (the software powering SonarCloud) is actually open-source, and very easy to run locally! In this post I’ll show you how to quickly set it up for a one-off project analysis, all you need is Docker.
Setting Up
Starting the SonarQube server is done using this command:
docker run -d --rm --name sonarqube -p 9000:9000 sonarqube:latest
Starting this should take about a minute. You can keep an eye on the logs with:
docker logs -f sonarqube
When it’s ready, you should see a “SonarQube is operational” message. Now you can open http://localhost:9000 in your browser, where you will be greeted by a login screen.
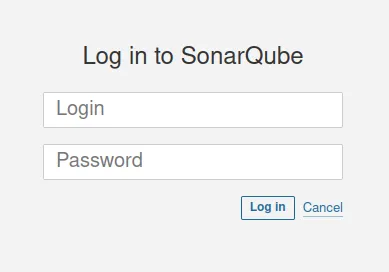
The default username and password are both admin.
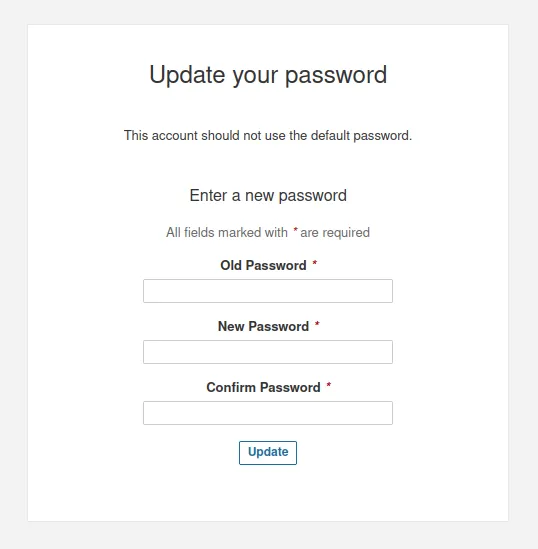
After logging in, SonarQube requires you to update the admin password.
Since we’ll only be using this setup as a one-off it’s not very relevant,
but there’s no way around it.
Next, we get to this screen where we can set up a project.
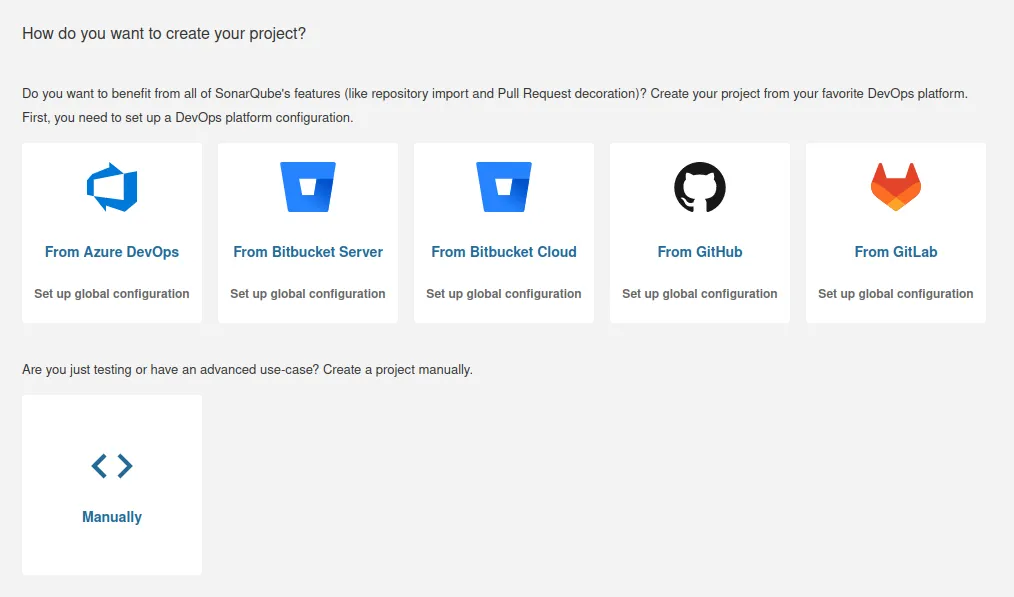
Since we’ll not be setting up any sort of integration, click the “Manually” button. Now we need to enter a project display name, which can be anything. Filling the display name will also automatically fill the project key, which you’ll need later.
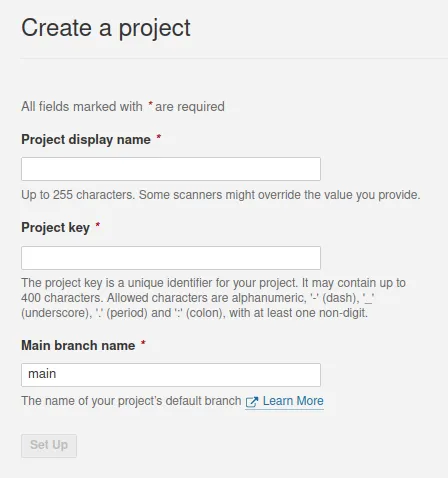
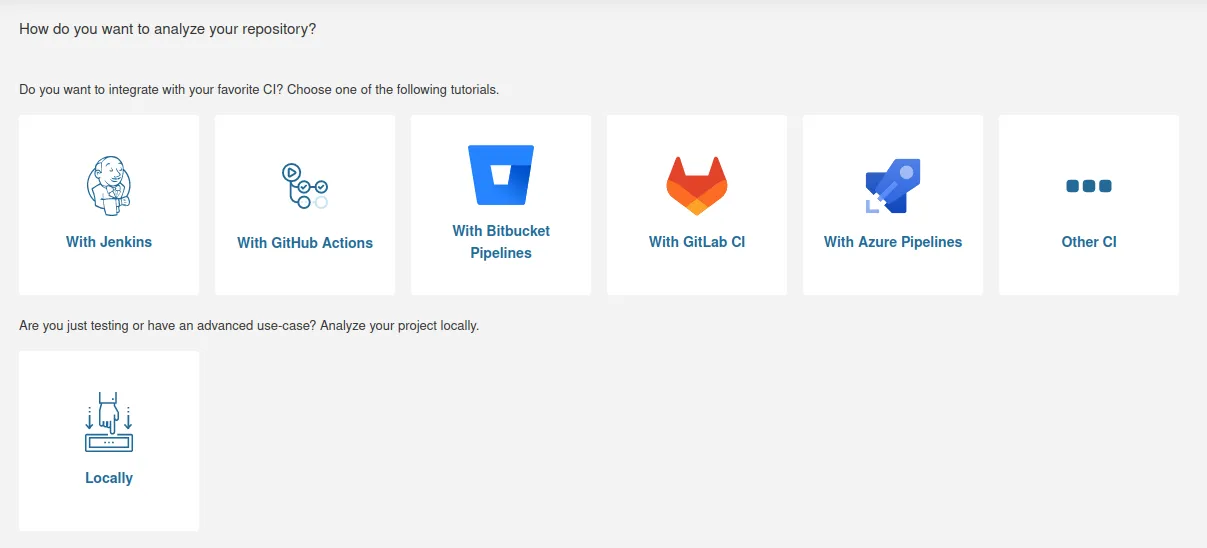
With these details filled in, click “Set Up”. You’ll now get various options to set up the project analysis. As the text states, we’re just testing, so click the “Locally” button.
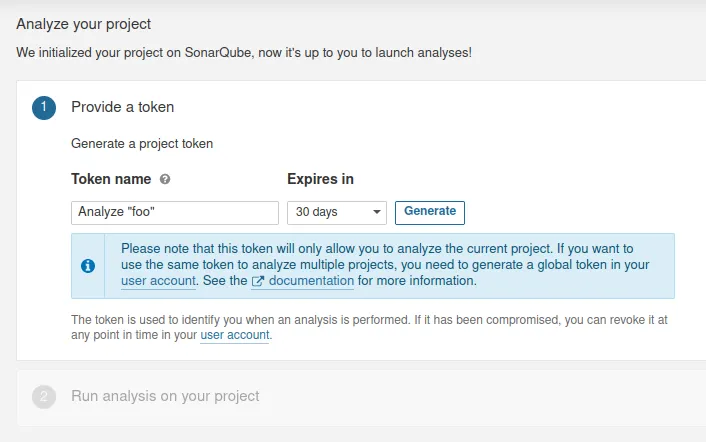
Next you will need to generate a project token. This will be used by the scanner to authenticate with the SonarQube server.
After clicking the “Generate” button you will get a token.
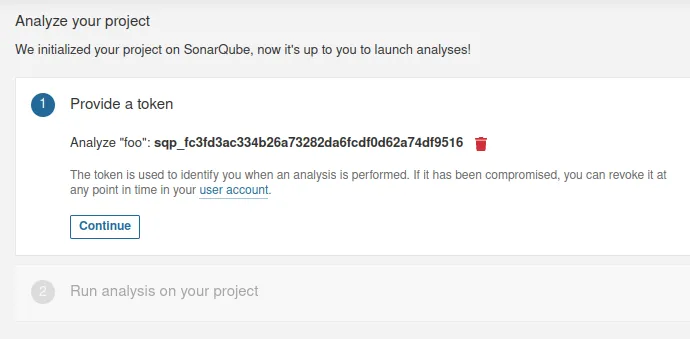
With a project key and token generated, we’re ready for analysis! Note that from here you also get the option to integrate the scanner with your project build setup, but we won’t be needing that. Instead, we’ll be using another Docker image.
Running the Analysis
Back to the terminal! Before running the scanner we need to put the project key and token in environment variables:
export PROJECT_KEY=foo
export SONAR_TOKEN=sqp_your_token_here
And finally we are ready to run the Sonar scanner. Simply run this command from the root directory of the project you want to analyse.
docker run --network host --rm \
    -e SONAR_HOST_URL="http://127.0.0.1:9000" \
    -e SONAR_SCANNER_OPTS="-Dsonar.projectKey=$PROJECT_KEY" \
    -e SONAR_TOKEN="$SONAR_TOKEN" \
    -v "$PWD:/usr/src" \
    sonarsource/sonar-scanner-cli
When the analysis is done, you can go back to the browser and view the analysis results!
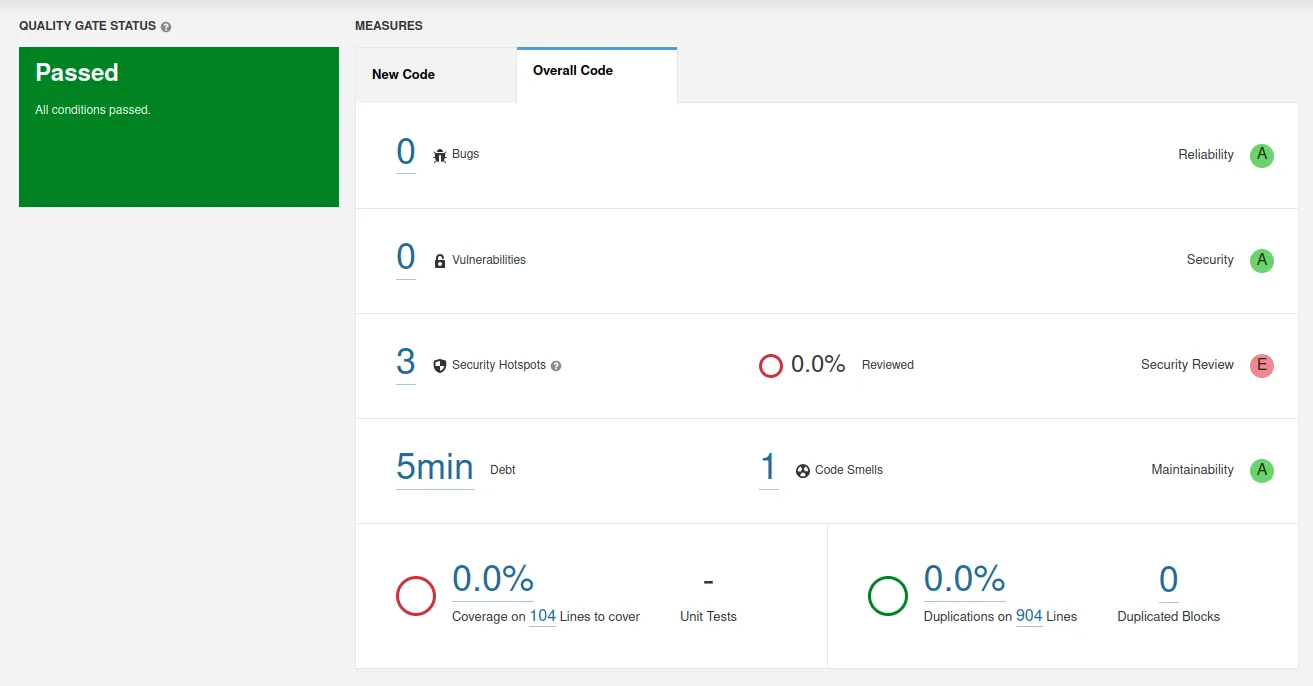
If you want to change some code, or fix issues and re-run the analysis, you can simply run that same command and the results will be updated.
Cleanup
After you’re done, cleaning everything up is very straightforward. The Sonar scanner container should be removed as soon as that is done. For SonarQube, you can simply stop the container:
docker stop sonarqube
Finally, in the project directory there may now be a .scannerwork directory.
This contains some files that are created by the Sonar scanner, and can be removed safely:
sudo rm -r .scannerwork
Note that sudo is required because the files are created from within the Docker container, i.e. as root.
Final Thoughts
As mentioned in the intro, the approach here is purely meant for a one-off local analysis setup. While you can run a self-hosted SonarQube instance, setting that up and maintaining it is far beyond the scope of this post. Generally I’d recommend using SonarCloud for that, since it’s a lot less hassle. Additionally, there’s also a SonarLint plugin for most popular IDEs. This has some of the same functionality (albeit more limited), directly in your IDE.
